Updating the look of your home doesn’t always require expensive renovations. One of the simplest and most effective ways to breathe new life into your interiors is by painting ceramic tiles. Once thought impossible, modern paints and primers now allow homeowners to transform tiled walls and floors with durable and visually appealing finishes. With the right preparation and techniques, tile painting can be a cost-effective solution that delivers long-lasting results. In this guide, we’ll walk you through the essential steps, practical tips, and common mistakes to avoid when painting tiles.
Proper preparation is the foundation of a successful tile painting project. Tiles must be clean, dry, and free from any grease, limescale, or dirt. Start by washing the surface thoroughly using specialized tile cleaners or a mixture of mild detergent and warm water. Scrub away any residue with a non-abrasive sponge, ensuring every tile is spotless. After cleaning, allow the surface to dry completely to prevent moisture from interfering with paint adhesion.
Next, inspect the grout lines between tiles. Damaged or crumbling grout must be replaced before painting. Fill any gaps with fresh grout and smooth it out, as uneven grout can affect the final appearance and longevity of your painted tiles. This step ensures a smooth and even surface that enhances the overall result. According to Dr. Laura Bennett, a materials scientist at the University of Cambridge, “A properly prepared surface is crucial for adhesion; even minor imperfections can drastically reduce paint longevity.”
Remove silicone and other coatings
Many tiled areas, particularly in kitchens and bathrooms, include silicone in corners or along edges to prevent cracking and water damage. Silicone can prevent paint from sticking, so it’s important to remove any traces before beginning your project. Carefully cut or peel away the silicone, then clean the edges thoroughly. Doing so will ensure that your primer and paint adhere properly and create a seamless finish. European renovation experts also note that “silicone residue is the most common reason for peeling paint on tiles,” emphasizing its removal before painting.
Applying the right primer
Priming is a crucial step that guarantees paint durability on tiles. Using a bonding primer specifically designed for slick or non-porous surfaces will allow the paint to adhere firmly. Both water-based and solvent-based primers can work, depending on your chosen paint type. Modern primers are effective on both matte and glossy tiles, ensuring a uniform base that prevents peeling or chipping.
Apply the primer evenly with a brush or roller, covering all tiles and grout lines. Allow it to dry completely according to the manufacturer’s instructions before moving on to painting. Skipping or rushing this step can compromise your results, making primer application one of the most critical parts of the process. Dr. Michael Edwards, a chemist specializing in coatings at MIT, explains, “The right primer forms a molecular bond with the tile surface, which allows the paint to stay intact for years.”
Choosing the best paint for your tiles
Selecting the right paint is essential for both aesthetics and durability. For interior tiles, use paints designed for high-traffic areas that are washable and resistant to moisture. Many brands now offer high-adhesion paints that do not require priming, reducing time and labor while still ensuring a durable finish.
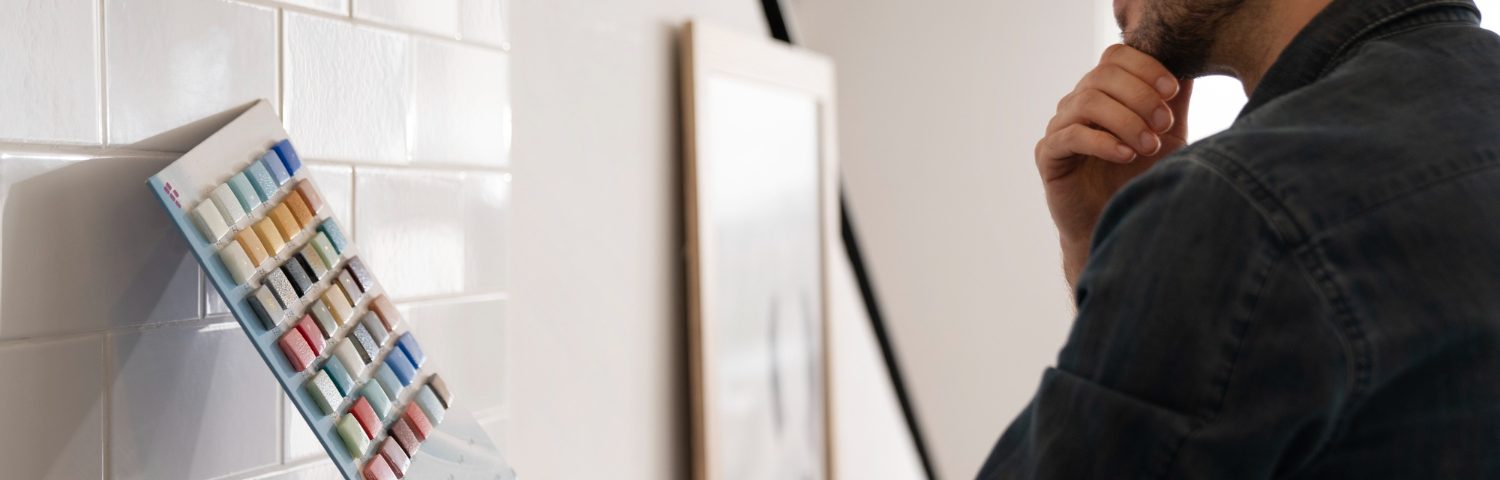
When deciding on a color, consider the overall mood of the room. Neutral tones like soft gray, beige, or warm brown are popular choices because they create a cozy and timeless atmosphere. Lighter colors can make smaller spaces feel larger and brighter, while darker tones add depth and sophistication. Remember to protect areas you do not want to paint using painter’s tape, plastic sheets, or paper. Interior design lecturer Emily Johnson from New York remarks, “Color choice not only influences ambiance but also affects perceived space and light; careful selection is key.”
Practical painting tips and techniques
Once the primer has dried, you can begin painting the tiles. Use a high-quality roller or brush to apply 1–2 even coats of paint, depending on the coverage. Avoid heavy layering, which can lead to drips, streaks, or uneven textures. Apply thin coats and allow sufficient drying time between layers for a smooth, professional finish.
For corners and edges, a small angled brush will help you achieve precision. Take your time to ensure every surface and grout line is covered evenly. Proper ventilation is important during this step, as it accelerates drying and reduces lingering paint fumes. Practical tips for optimal results include:
Use painter’s tape to protect edges and fixtures
Apply paint in one direction to minimize brush marks
Work in small sections to prevent paint from drying unevenly
Allow at least 24 hours between coats for full adhesion
Use a fine-grit sanding sponge between layers if needed
Drying, curing, and maintenance
After painting, allow the tiles to dry thoroughly. Initial water contact can usually happen after a few days, but the paint surface fully cures within 28 days. During this period, avoid scrubbing or using abrasive tools on the painted tiles. Once cured, you can clean them with mild detergents and soft sponges without fear of damaging the surface.
Regular maintenance will help your newly painted tiles last longer. Avoid harsh chemicals and abrasive cleaning pads. Gentle cleaning will preserve both color and texture, keeping your interior looking fresh for years to come. According to Dr. Anna Schmidt, an interior materials expert at the University of Munich, “Routine maintenance is often overlooked, but it significantly extends the life of painted surfaces.”
Common mistakes to avoid
Even small oversights can affect the quality and durability of painted tiles. Avoid these common mistakes:
Skipping the primer – without proper adhesion, paint will peel quickly
Painting over dirty or wet tiles – this can prevent proper bonding
Using incompatible paint types – always choose paints made for tile surfaces or high-adhesion formulations
Ignoring grout or silicone removal – imperfections can show through the paint
Rushing the drying process – patience is essential for a long-lasting finish
By paying attention to these details, you ensure a smooth, professional result that revitalizes your home without the need for costly renovations. According to renovation consultant Dr. Peter Lang from London, “Following correct procedures is far more cost-effective than having to redo failed paint jobs.”
Conclusion
Painting tiles is a practical, cost-effective way to update your home’s interior. With careful preparation, the right materials, and attention to detail, painted tiles can look just as good as new ones. From cleaning and repairing grout to choosing the appropriate primer and paint, each step plays a vital role in achieving durable and beautiful results. By following these tips and avoiding common mistakes, you can confidently transform tiled surfaces into stylish, refreshed spaces that reflect your personal taste.
Summary of key points:
Thoroughly clean and dry tiles before painting.
Repair grout and remove silicone for better adhesion.
Use a bonding primer designed for non-porous surfaces.
Choose high-quality, washable paint suited for tiles.
Apply paint in thin, even layers and allow proper drying.
By following this step-by-step guide, painting tiles becomes an accessible and rewarding project, allowing you to refresh your home interior with confidence and style.